How to Start Prepping: Beginner’s Emergency Guide

TL;DR (Quick Summary)
Want to know how to start prepping? Focus on understanding preparedness, building your basic emergency supplies, making a personal risk assessment, and taking strategic action. This comprehensive guide will walk you through it all—and don’t forget to download your free 39-page eBook: How to Start Prepping Guide.
Introduction: Why Prepping Matters More Than Ever
In today’s unpredictable world, knowing how to start prepping is no longer a fringe activity—it’s a smart, empowering decision. Disasters, civil unrest, power outages, pandemics, or even a job loss can throw your life off track with only a moment’s notice.
And you’re not alone. According to FEMA’s 2023 National Household Survey, 57% of U.S. adults have taken three or more preparedness actions, such as assembling emergency supplies, making plans, or staying informed. That’s approximately 147 million Americans who are actively taking steps to be ready for the unexpected.
While only 51% feel fully prepared, that gap shows there’s still work to be done—and that's exactly where you come in.
I’m Brian Duff—former Army Ranger, paramedic, international security director, and host of the Mind4Survival podcast. With over 40 years of experience, my goal is to make emergency preparedness accessible, practical, and panic-free.
In this article, you’ll learn the exact steps to get prepared, the mindset you need, how to build your emergency supply kit, and how to safeguard your family members. If you want to follow along with even more details, grab your free eBook guide.
Here's a Motivating Article I Wrote on the True Meaning of Preparedness
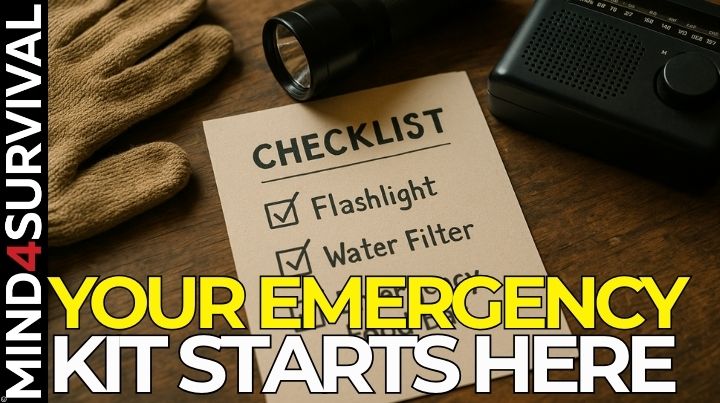
What You’ll Need to Get Started
Before you build out complex strategies or long-term storage systems, you need a solid starting point. The essentials. This is the gear and knowledge that will carry you through the first critical days of any crisis.
Whether it's a natural disaster, civil unrest, or extended power outage, your goal is to be able to take care of yourself and your family members for a minimum of 7 days—not just 72 hours.
A one-week buffer gives you breathing room for 99.9% of all disasters. It preps you for when supply chains are disrupted or emergency services are overwhelmed. It reduces stress and increases your independence from outside help. Best of all, it gives you confidence to know that your set for most of what the world can throw at you. And confidence is contagious—when you’re calm, those around you follow your lead and feel better.
Disclaimer: This article contains affiliate links, for which I may receive a small commission at no cost to you if you choose to purchase a product through a link on this page.
Here’s a quick breakdown of your first emergency supply kit and skills:
-
Emergency food & water (minimum 7 days per person)
-
First aid kit with trauma supplies
-
Clothing, shelter, and tools
-
Flashlight, radio, power banks
-
Plan of action for personal risk assessment
-
Basic survival skills (fire, water purification, first aid)
Don’t worry if this feels like a lot. The key is to start small and build over time.
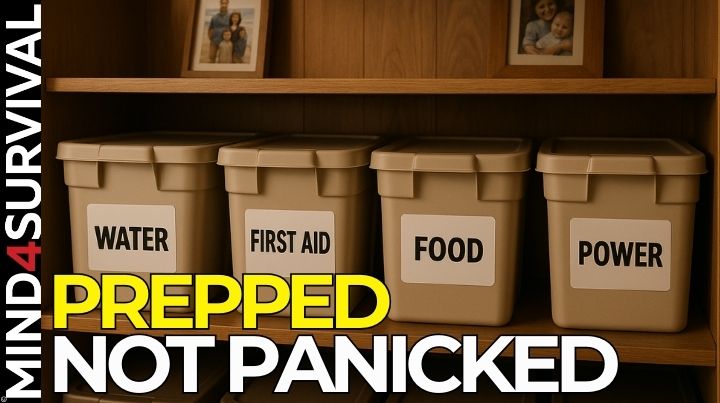
Build Your Basic Emergency Kit
This is your foundation—your first line of defense when the unexpected strikes. Whether you’re facing a natural disaster, a widespread power outage, or some other crisis, having a well-thought-out kit gives you confidence and practical capability when time is short.
A complete kit doesn’t have to be expensive or complicated. Think of it as your personal safety net: it can live in a backpack by the front door, a weatherproof bin in your closet, or a tote in your car. The key is portability, accessibility, and reliability.
Start with the essentials that keep you going for at least one-week. That gives time for the disaster dust to settle and for you to figure things out. Focus on water, emergency food, first aid supplies, warmth, hygiene, light, and power. Build it once, then maintain and improve it over time. The goal isn’t to over do this—it’s to ensure you have what you need to act fast and stay safe.
From hurricanes and wildfires to unexpected winter storms or civil unrest, your emergency kit is the tool that turns chaos into calm. And just like any good tool, it should be personalized to your environment, needs, and loved ones.
Clothing
-
1 set durable long pants
-
1 long-sleeved work shirt
-
Sturdy boots
-
2 hats (sun & cold weather)
-
3 pairs of socks
-
Military rain poncho
Shelter
-
Tent or bivvy sack
-
Tarp or poncho for improvised cover
-
Ground insulation pad
-
Poncho liner or sleeping bag
Water (Drink & Store)
-
1+ gallon per person per day
-
Store-bought bottled water (3 cases minimum)
-
Emergency water container (Nalgene or single-wall metal bottle)
-
Sillcock key for urban water access
Emergency Food
-
SOS rations (3600 calorie bars)
-
Shelf-stable snacks (jerky, nuts, protein bars)
-
MREs or freeze-dried meals
Fire
-
WetFire or fire tinder
-
Emergency candle (light + flame extender)
First Aid Supplies
-
CPR mask, gloves, antiseptic
-
Prescription meds + over-the-counter basics
-
Emergency trauma kit
Pro-Tip: Not trained in advanced first aid? Someone else might be. Include the gear anyway.
Tools & Repair Items
-
Multitool with knife, saw, pliers
-
Paracord (100 ft)
-
Duct tape (15 ft)
-
Pro-Tip: Wrap tape around a lighter or water bottle to save space.
Navigation
-
Local and regional paper maps (Tip: Visit your local AAA)
Electronics
-
Headlamp (with red light mode)
-
Rechargeable flashlight
-
Hand-crank or battery radio (NOAA/FM)
-
Power bank (USB/solar combo if possible)
Hygiene
-
Toothbrush, paste, soap
-
Wet wipes, toilet paper
-
Sunscreen, bug spray, chapstick
-
Feminine hygiene products
Storage & Transport
-
Backpack (30L+)
-
Bin or duffel bag for household storage
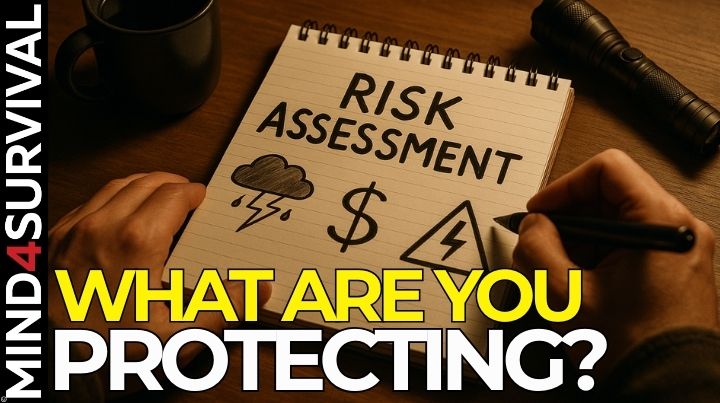
Create Your Personal Risk Assessment
Before you buy another flashlight, pause. Too many people rush into buying gear without understanding what they're actually preparing for. The most effective preppers start with clarity—a deep understanding of what matters most in their specific situation.
What is a Risk Assessment?
It’s the process of asking critical questions that shape your strategy:
-
What do I have to protect?
-
What can go wrong in my area or lifestyle?
-
Where am I vulnerable today?
Your goal is to develop a clear picture of your current readiness, so you can make smart, targeted decisions about your emergency preparedness priorities. Here’s how to break it down:
-
Assets: You, your family members, pets, home, health, income, supplies, and peace of mind.
-
Threats: Think local and personal. Are you in an earthquake zone or hurricane region? Does your work depend on an unstable economy? Common threats include disasters, job loss, cybercrime, civil unrest, house fires, and power outages.
-
Vulnerabilities: These are the gaps. Do you rely on refrigerated medications? Live far from a hospital? Commute long distances daily? Have no food storage or savings?
Once you map these out, patterns will emerge. Maybe your biggest weakness is being unprepared for a weeklong power outage, or maybe it's your lack of short term food storage or medical backup plans. That clarity gives you direction.
Pro Tip: Rank your top three threats, then list one or two ways to reduce each. This instantly transforms fear into focused action.
Start Prepping with a Plan
Now that you know your risks, let’s create a real-world emergency preparedness plan—one tailored to your unique situation. Planning takes your risk assessment and turns it into action. This is where intention becomes capability.
Many new preppers feel overwhelmed by the idea of needing to do everything all at once. But preparedness is not a one-time event—it’s a strategic, ongoing process. By making a plan and sticking to small, consistent steps, you will see steady progress without burning yourself out or blowing your budget.
Step-by-Step Planning:
-
Identify your top 3 threats: Review your risk assessment. What events are most likely to affect you and your family? A disaster of Mother Nature? A power outage? Financial hardship? Focus your energy on what’s most probable, not just what’s most dramatic.
-
Match basic survival kits to each threat: If evacuation is likely, focus on upgrading your bug out bag. If staying home during winter storms is more realistic, prioritize home-based survival kits, backup heat, and food storage. Your gear should reflect your lifestyle and risks.
-
Budget monthly for gear, food, and water: Break your plan into budget-friendly chunks. Maybe one paycheck buys a water filter. Next month, it’s shelf-stable meals. In three months, you’ve got a full week of emergency food and water, plus a first aid kit and flashlight. Track progress in a spreadsheet or checklist.
-
Practice one skill or drill per month: Building muscle memory is crucial. Run a family fire drill. Set up your tarp shelter. Cook a meal using only your backup stove and short term food storage. Try purifying water with bleach. These drills turn theoretical knowledge into real-world confidence.
You don’t need it all at once. Stack small wins. Each task completed adds to your ability to respond under pressure.
Remember: Your goal is capability, not clutter. Don’t stock gear you don’t know how to use or food you won’t eat. Focus on building practical readiness that fits your real life.
Take Action Now (and Keep It Simple)
Once you’ve built your plan, the next step is simple: take action. Don’t wait—get going! Get started prepping today by doing something small but meaningful.
Taking action doesn’t have to be dramatic. In fact, the most effective preppers build habits, not panic buys. These micro-actions compound quickly, creating momentum, confidence, and capability. Here’s how to begin:
-
Pick ONE category (food, water, first aid): Choose the area that feels most urgent or accessible. If you don’t have a first aid kit, that’s a good place to begin. If your water supply is low, start there.
-
Spend 30 minutes organizing or upgrading it: Take half an hour to inspect what you already have. Toss expired food. Add bandages to your kit. Move flashlights to more accessible places. This quick win builds confidence.
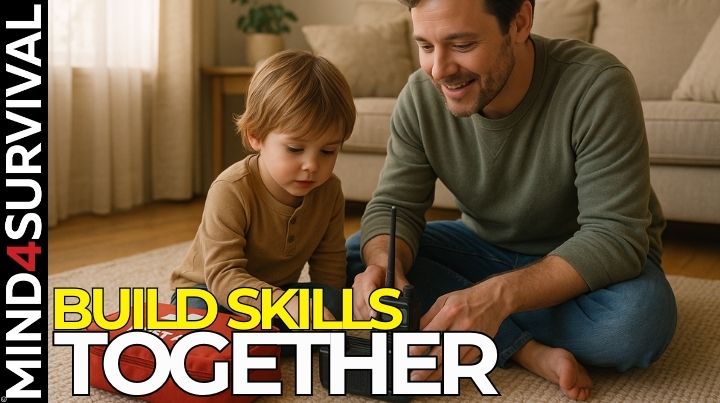
-
Teach your spouse or kid one thing: Prepping is a team sport. Show a loved one how to use a water filter or where the emergency radio is stored. This creates a ripple effect of readiness in your household.
-
Add one item from your checklist to your Amazon cart: Don’t overthink it. Maybe it’s water purification tablets. Maybe it’s a battery-powered radio. One item a week means 52 progress points a year.
Then do it again next week. Set a weekly reminder if needed.
Consistency beats intensity. The small steps you take now will stack into real preparedness—without stress, without chaos.
This is how resilience is built. One simple, repeated action at a time.
This builds momentum and reduces anxiety.
How to Practice Core Survival Skills
All the gear in the world won’t help without skills. Tools can break. Batteries can die. Food supplies can run low. But the skills you’ve learned? They’re always with you. That’s what makes them your most important prepping asset.
When the grid goes down or a natural disaster cuts you off from help, your knowledge and training will keep you going. Practicing core survival skills gives you confidence, adaptability, and a clear head in moments of crisis. Even more importantly, it turns your emergency preparedness plan from theory into action.
Start with the basics and commit to steady improvement. Don’t try to master everything overnight. Instead, make it a goal to learn one practical skill per month—hands-on, tested, and repeatable under pressure. This not only builds your capability but makes prepping a regular habit in your life.
Build These Core Survival Skills:
-
Basic first aid and bleeding control: Learn how to stop bleeding, treat burns, and stabilize someone until professional help arrives. Take a Stop the Bleed course if available.
-
Fire starting (wet/dry conditions): Practice with matches, lighters, ferro rods, and tinders. Try doing it one-handed or in the rain.
-
Tarp shelter setup: Understand how to create a dry, insulated shelter using cordage, ponchos, and tarps.
-
Water purification (filter, boil, bleach method): Know how to make questionable water safe to drink using multiple techniques.
-
Map & compass use: Don’t rely solely on GPS. Practice land navigation in a park or on a local trail. Know your cardinal directions.
-
Emergency communications (radio basics): Understand how to use an emergency radio, tune to NOAA weather stations, and operate basic HAM or GMRS radios.
Learn one new skill per month. That’s 12 by year’s end—and 12 new ways to stay alive when it matters most.
What Comes After the Basics?
Once your basic supplies and skills are solid, you're no longer starting from scratch—you're becoming a true asset to yourself and your community. The next phase of your prepping journey is about expanding capability, strengthening redundancy, and increasing self-reliance across more complex scenarios.
Build a second bugout bag for your vehicle
Emergencies don't always happen at home. A car-based bugout bag ensures you're equipped during road trips, commutes, or if you're separated from your primary gear. Include water, snacks, a flashlight, a phone charger, a multitool, and a compact first aid kit. Think of it as your mobile, vehicle emergency kit, fallback plan.
Stock a 30-day emergency food supply
Move beyond your 7-day backup plan by developing a longer-term food storage system. Focus on calorie-dense, shelf-stable items that require minimal prep—like beans, rice, canned meats, and freeze-dried meals. Include basics like powdered milk, nad spices.Use a rotation system to ensure freshness. This also becomes your short-term food storage foundation.
Strengthen home security
Prepping isn't just about natural disasters—it's also about staying safe from physcial security threats that face us and our loved ones. Reinforce doors and windows, install lighting, consider privacy measures, and develop a communications plan with your neighbors. A well-secured home can help protect your food storage, supplies, and loved ones.
Add medical aid supplies (dental, antibiotics)
Go beyond the basics of toilet paper by including dental kits, electrolyte tablets, and basic antibiotics (if legally and ethically sourced). This boosts your ability to care for yourself during a power outage, grid-down scenario, or when professional care is unavailable.
Create a network of like-minded preppers
The lone wolf myth is just that—a myth. Community is one of your greatest assets in a crisis. Connect with others through local CERT teams, online groups, or meetups. Share knowledge, skills, and support. A trusted network can be life-saving during a natural disaster or extended emergency.
These next-level strategies transition you from reacting to proactively building resilience. And remember: each upgrade brings greater peace of mind and capability for when it matters most.
Frequently Asked Questions (FAQ)
How do I start prepping if I’m on a tight budget?
You don’t need a huge budget to start prepping. Begin with the most critical items: clean drinking water, a reliable flashlight, and a basic first aid kit. Focus on practical gear and avoid fancy gadgets until your essentials are covered. Look around your own home for usable items before buying new ones. Then, make a simple list and commit to taking action after each payday. Consistency is more powerful than speed.
Pro-Tip: Start Prepping with What You Have
How much emergency food should I store?
A good rule of thumb is to store 2,000 calories per adult per day. Begin with a three-day supply of emergency food like protein bars, canned goods, and dry snacks. From there, scale up to seven days and eventually a full 30-day pantry. Choose shelf-stable items that require little to no preparation, and rotate your food to maintain freshness. Use the calorie calculator in the free eBook to customize for your household.
Here's a helpful article on: How to Build a Food Stockpile on a Budget
What’s the difference between a bug out bag and a survival kit?
A bug out bag (BOB) is designed for rapid evacuation. It’s packed with the gear you’d need to survive 72 hours away from home. It should be portable, lightweight, and ready to grab at a moment’s notice. A survival kit, on the other hand, can vary in purpose and location—it might stay in your home, vehicle, or office, and it’s typically meant to help you shelter in place or survive a specific threat. Some people build both: one to go, one to stay.
How often should I check my supplies?
Review and refresh your emergency supplies every 6 months. Set a recurring calendar reminder to inspect the expiration dates on food, batteries, and medications. Check for broken gear or missing items. If you have kids, make sure their clothing and shoes still fit. Rotate water, test electronics, and restock anything you've used. Use this as a mini “readiness drill” to stay sharp and aware. Be sure to go through your emergency supplies every six-months.
Final Thoughts: You’re on the Right Path
Congratulations. You're already ahead of the curve if you made it this far. You're someone who doesn't just hope things will work out—you're taking real steps to ensure they do. You are preparing for the unpredictable emergency situation, investing in your peace of mind, and becoming the kind of person others can depend on when it counts most.
Your prepping journey is still in its early stages. Still, you've already done something most people never will: acknowledging reality and taking responsibility for yourself and your loved ones. That alone makes you exceptional.
You don't have to do everything today. Preparedness isn't about perfection—it's about progress. It's about stacking small wins, improving your knowledge and survival skills, and building the confidence to face any survival scenarios from a major disaster to a power outage with calm and capability.
So whether your next step is buying that water filter, practicing fire starting, or downloading the checklist from your eBook, just take it.
📥 Next Step: Download the free eBook: How to Start Prepping
Let's keep building your resilience—one step at a time. Because when you're prepared, you're not just surviving—you're leading, protecting, and thriving.
You've got this—no matter what.
Mind4Survival is committed to providing rational, experience-based guidance for modern preppers. No doom, just practical steps to thrive.
Additional Resources:
Related Articles


FREE Guide
")
Read the Best Seller

Join Mind4Survival
Stay informed by joining the Mind4Survival! 100% Secure! 0% Spam!
Affiliate Disclosure...
Mind4Survival is a free, reader-supported information resource. If you make a purchase through our link, we may, at no cost to you, receive an affiliate commission.
Do You Want To Be Ready No Matter What?

Download our free 39-page guide with interactive, 7-Day Emergency Kit Checklist and take the first step toward real preparedness.
- Know exactly where to start.
- Save time and money.
- How-to build a complete Basic Emergency Kit.
- Level up your safety and security.

Join Mind4Survival
Stay informed by joining the Mind4Survival! 100% Secure! 0% Spam!