How to Store Emergency Food for the Longest Shelf Life
So you've done it. You've stocked up on all sorts of food and built your prepper stockpile. You're officially “prepped.” You're done, right? Not so fast – you need to know how to store emergency food so that you get the longest shelf life possible.
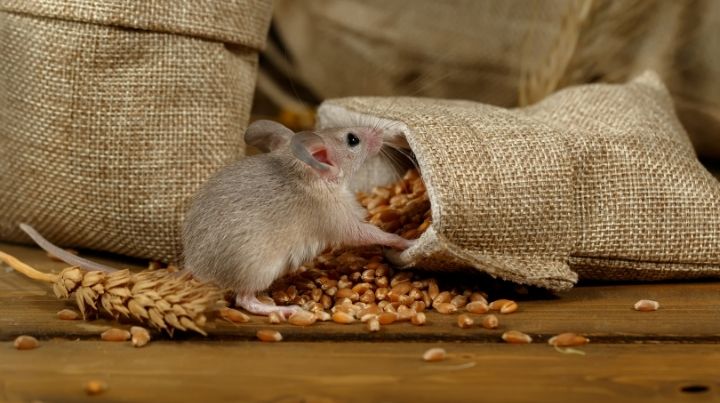
Ask any prepper who has opened a package of flour or dehydrated food and found weevils squirming around. Or ask a prepper who has bitten into a cracker expecting it to be crispy but gotten a mouthful of stale, soft mush. Any prepper who has found cardboard packages of food opened with tiny little toothmarks and sprinkled with rodent droppings knows that storing emergency food properly is essential.
Food storage matters. If you are going to spend all that money on a stockpile, it's vital to learn how to store it for maximum life span.
What Are You Protecting Your Food From?
First things, first, let's talk about the biggest threats to your food storage stockpile.
Air: Your food needs to be well-sealed for many reasons, not the least of which is air. Oxygen can quickly degrade the quality, appearance, taste, and texture of your food. It can cause fats to become rancid, dry goods to become stale, and provide an ideal environment for bacteria growth.
Light: Light degrades the flavor and appearance of your food.
Temperature: An ideal temperature range for your food is the low 40s to the low 70s (Fahrenheit). Modern Survival Blog has a formula you should check out, but the summary is that you cut your shelf life in half for every 18 degrees above your ideal temperature. Now, that doesn't mean people in hot climates who lose power might as well not store food. It means that you need to understand the loss of shelf life and rotate through your foods faster instead of putting them on a shelf and forgetting them.
Moisture: The fastest way to get those mushy crackers I mentioned above is by storing your food in a humid atmosphere. Moisture can affect the quality of your food, shorten the shelf life, and encourage the growth of mold.
Pests: Depending on where you live, different types of pests can be a threat to your food supply. You may face anything from rodents to insects in your storage area. And some of the pests actually come in the food you're storing.
How do you defeat these food storage threats? Read on!
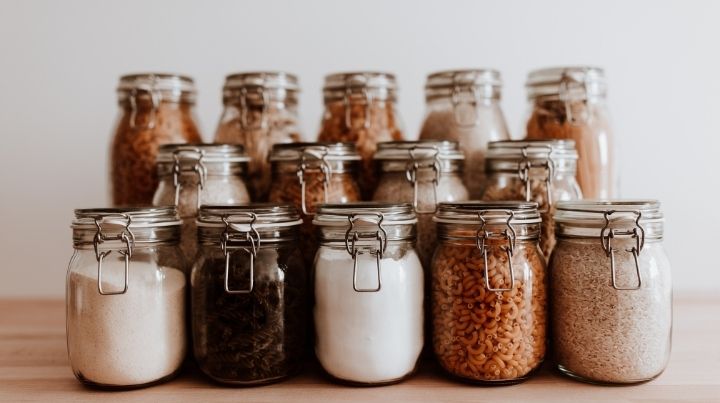
How to Store Emergency Food: Your Storage Space
We don't all live in an ideal world with a climate-controlled room completely dedicated to food storage. In fact, I'd be willing to guess that most of us don't live in that world at all. We stuff things in cabinets, under beds, or in guest rooms, basements, and attics. Some of these aren't ideal, but you can still use them for some things with a bit of pre-planning.
Kitchens
Always rotate your oldest food into the kitchen so it can be worked into your daily menus and not expire. Use this in your day-to-day cooking. Kitchens are often hot, humid places, so know ahead of time that the food you store there is exposed to at least two of the threats we talked about above. But that's okay because you're going to be consuming it soon, right?
Other Main Rooms
Other rooms of the house are better bets for storing your food. Many people keep their homes closer to the appropriate temperatures mentioned above. If you are lucky enough to have a spare room to devote to food storage, keep the blinds pulled (or even invest in room darkening curtains). Keep the vents open in the summer for air-conditioning to keep the room cool and closed in winter to keep out some of the heat. You can get a hygrometer to detect the levels of humidity for less than a $5 investment.
The Basement
A hygrometer is particularly important if you're stashing food in the basement. If your basement is damp, limit your food storage down there to water containers and store-bought canned goods. Home-canned goods need to be stored in a drier environment. If you have no option but to keep it in the basement, you may want to invest in a dehumidifier (don't forget to empty it daily). For off-grid humidity absorption, there's a product called Damp Rid that can help a lot. I recommend the unscented version in a place you're storing food.
The Attic
Attics are not the best place to store food. The extremes of temperature are too great for long shelf life. You can use the attic for things like paper products, cleaning supplies, and other stockpile goods that aren't as finicky as food.
How to Store Emergency Food: What You Need for Repackaging
If your stockpile is made up of things purchased from the grocery store, it's important to note that those foods are in the cheapest possible packaging and are not meant for long-term storage. You can get a much longer lifespan of freshness by learning how to store emergency food in your own packaging.
Here are a few supplies you'll need:
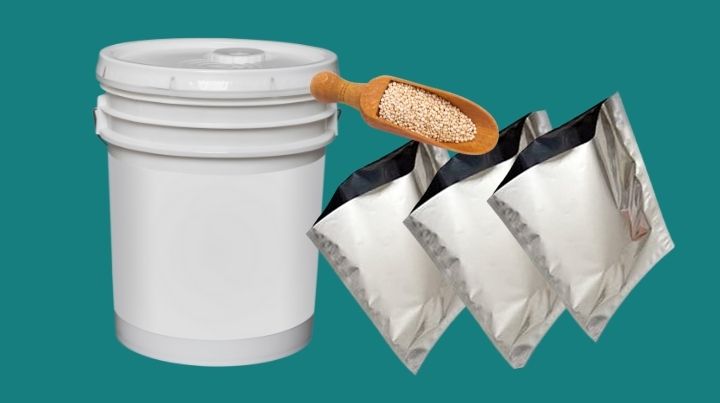
Mylar bags
The size of bags you use will be determined by the size of your family and how much of the item you will use quickly. A smaller family might use 1-gallon bags, whereas a larger family might use 5-gallon bags.
Oxygen absorbers
Use oxygen absorbers in food where no moisture should remain: flour, white rice, oatmeal, wheat berries, and beans. Do NOT use oxygen absorbers in sugar, salt, and powdered drink mixes unless you want to carve your sugar off a solid brick, nor should you use oxygen absorbers in food with some moisture – it makes a prime breeding ground for botulism. These foods should not be stored with oxygen absorbers: barley, brown rice, jerky, dried eggs, nuts, granola, or home dehydrated fruits and vegetables.
FOOD GRADE Desiccant packets
Use desiccant packets in the foods mentioned above that contain some moisture. Only use them in larger bags of 2 gallons or more.
FOOD GRADE 5-gallon buckets
If you can, get gamma lids for easy opening. They can turn your snap-off lids into easy-to-open screw-off lids. If you can't, be sure to add a bucket opener to your preps.
A bag sealer
You can also use a clothing iron or hair straightening iron for this.
FOOD GRADE Diatomaceous earth
DE is an anti-caking agent and pest repellent. Put it in the bottom of your buckets of legumes, grains, beans, rice, and corn, which have been packed in Mylar bags. The ratio is 1 cup of DE to 40 pounds of food.
How to Repackage Your Food for the Longest Shelf Life
Before repackaging your food, put it in the freezer in the original package for 72 hours. This will kill off any bug eggs, weevils, or larva that might be lurking within. (Yuck.)
- Clean your hands and work surface well.
- Gather your repackaging supplies, a large measuring cup, and something to stand your bags in. (A cooking pot works well for this.)
- Stand your mylar bag in the cooking pot and toss a desiccant in the bottom of the bag. ( if you're using them).
- Begin scooping your food into the bag. If you're using oxygen absorbers, you'll put one at the halfway point and one at the top.
- Leave 2.5-3 inches at the top, so you have room to seal the Mylar bag. Then fold it down two or three times, taking care to push out as much air as possible.
- Run your hot bag sealer across the top, leaving about one inch to get the last bit of air out. Then, complete the seal.
- Store your bags inside your food-safe bucket. If you have extras, add a couple more oxygen absorbers to the bucket.
Repeat this process until all your food is properly repackaged. Keep your buckets in a cool, dry, dark environment.
How Do You Store Your Emergency Food?
Do you have some tips on how to store emergency food? Where do you store yours? Do you have any questions? Let's discuss it in the comments.
Related Articles
FREE Guide
Read the Best Seller
Join Mind4Survival
Stay informed by joining the Mind4Survival! 100% Secure! 0% Spam!
Affiliate Disclosure...
Mind4Survival is a free, reader-supported information resource. If you make a purchase through our link, we may, at no cost to you, receive an affiliate commission.
Do You Want To Be Ready No Matter What?
Download our free 39-page guide with interactive, 7-Day Emergency Kit Checklist and take the first step toward real preparedness.
- Know exactly where to start.
- Save time and money.
- How-to build a complete Basic Emergency Kit.
- Level up your safety and security.
Join Mind4Survival
Stay informed by joining the Mind4Survival! 100% Secure! 0% Spam!

